In this tutorial, you will learn how to create a transparent table in transaction SE11.
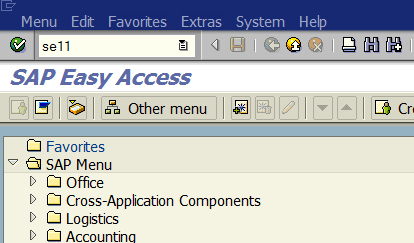
Step 1. To create a transparent table go to transaction SE11 (ABAP Dictionary). Put “se11” in the command field and hit Enter:
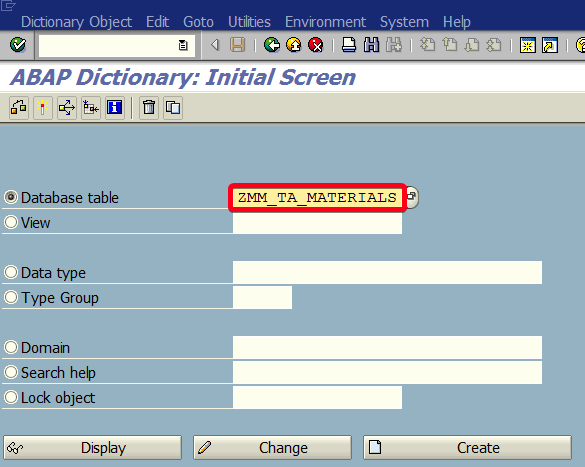
Step 2. On initial screen put “ZMM_TA_MATERIALS” as database table name (or other according to your needs):

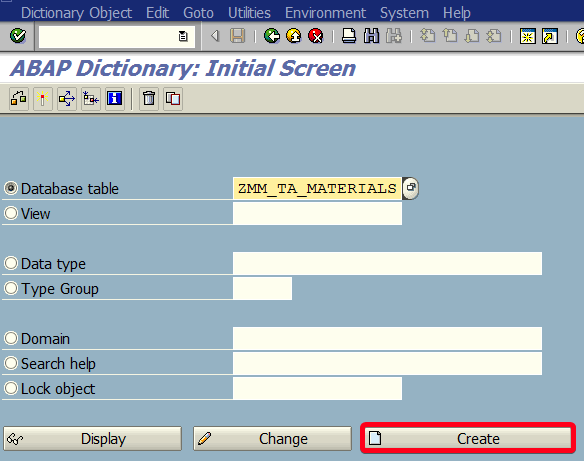
Step 3. Click on Create button:
Step 4. On the next screen fill Short Description. In this case, it’s “Material Custom Table“, it should be something informative:
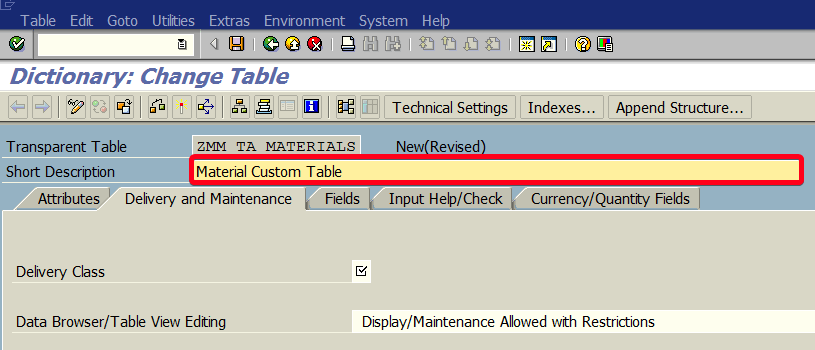
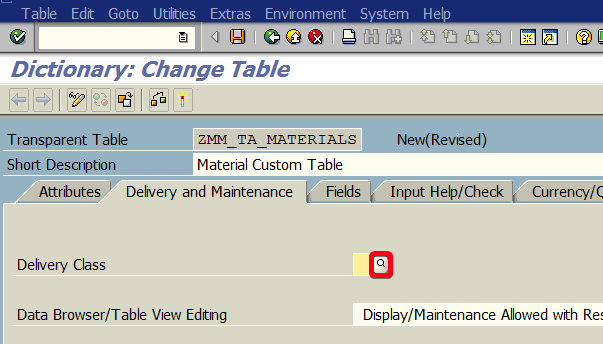
Step 5. It’s obligatory to choose Delivery Class to do so click on the delivery class field and then on Search button:
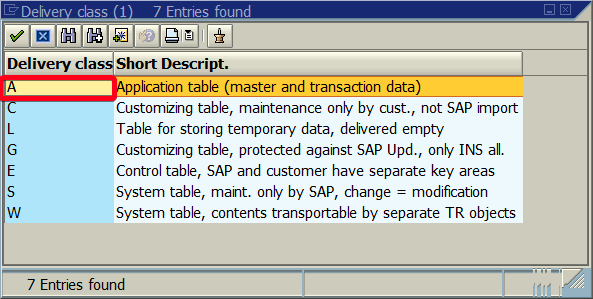
Step 6. Double click on a delivery class to choose one:
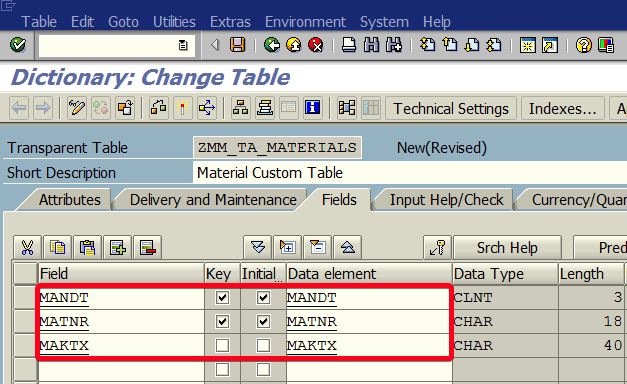
Step 7. Go to Fields tab and select fields as needed. In this case this will be “MANDT” of type “MANDT“, “MATNR” of type “MATNR” and “MAKTX” of type “MAKTX“. Also, you may want to check Key and Initial checkbox:
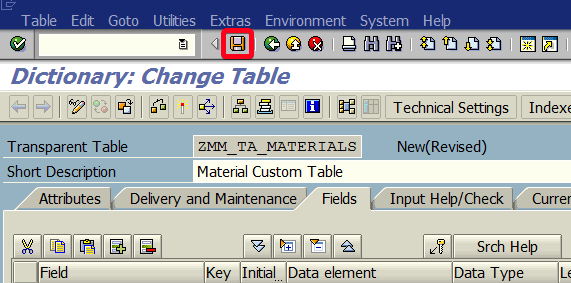
Step 8. Save your work using Save button:
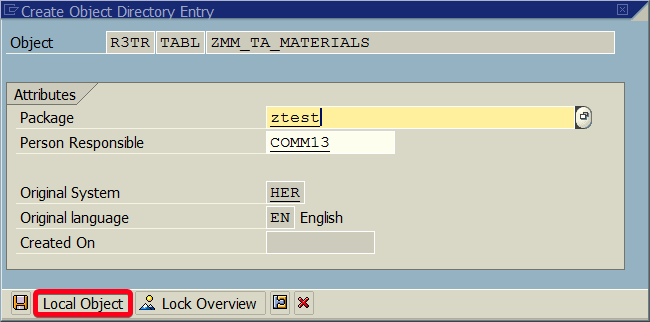
Step 9. During save you will be asked for a place where to store an object. You can choose to put it local repository:
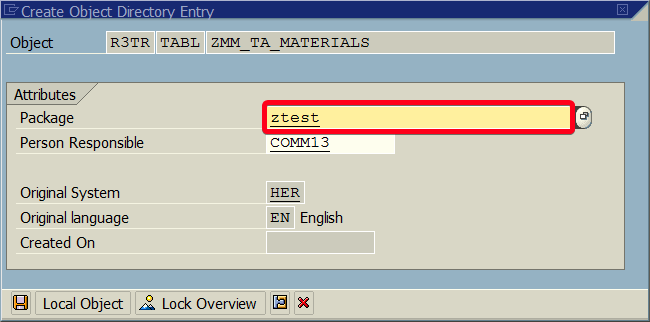
Step 10. Alternatively, you can choose a package i.e. “ztest” (if you don’t have a package yet click here for instruction how to create one):
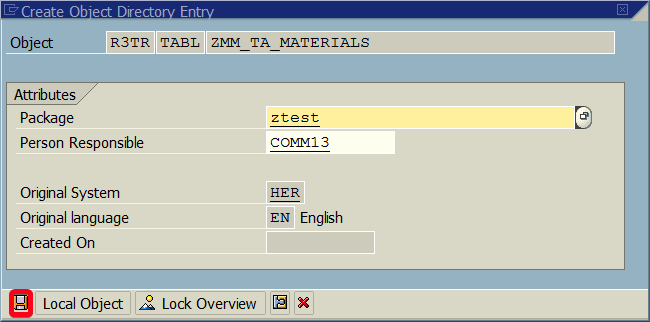
Step 11. Click on Save button:
Step 12. Click on Continue button to confirm choose of transport request:

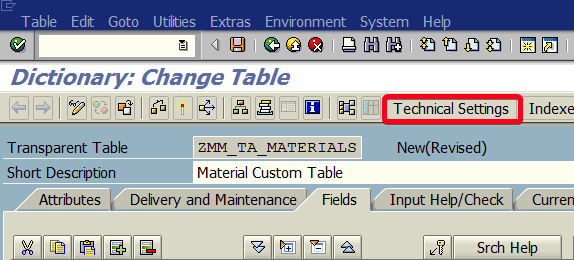
Step 13. Click on Technical Setting button:
Step 14. In technical settings choose Data Class. Click on Data Class field and then on Search button:
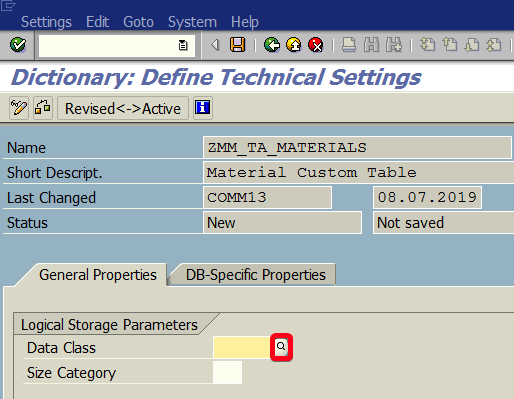
Step 15. Double-click on class name:

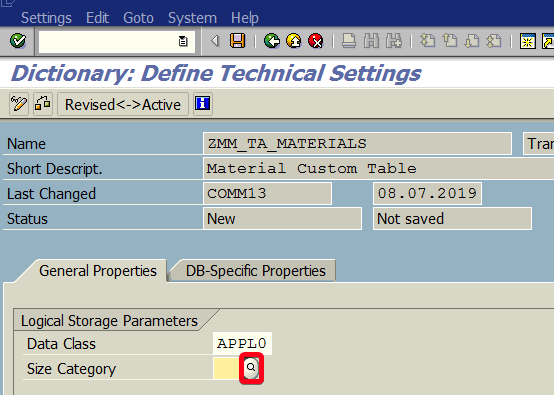
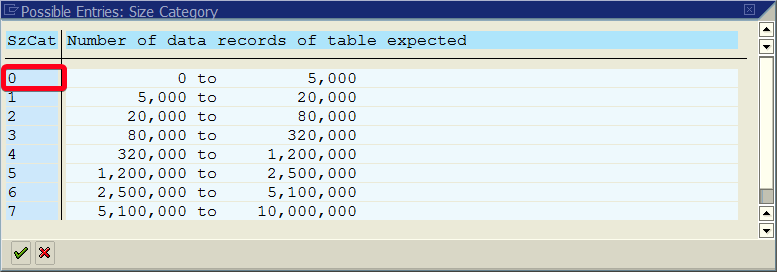
Step 16. It’s obligatory to choose Size Category. Click on Size Category field and then on Search button:
Step 17. Double-click on size category:
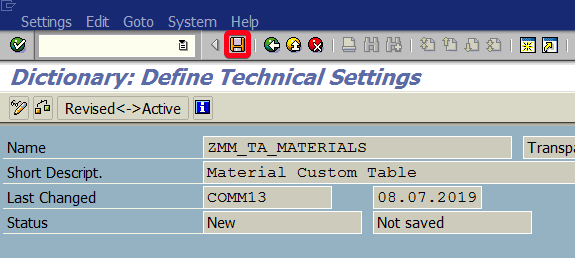
Step 18. Click on Save button:
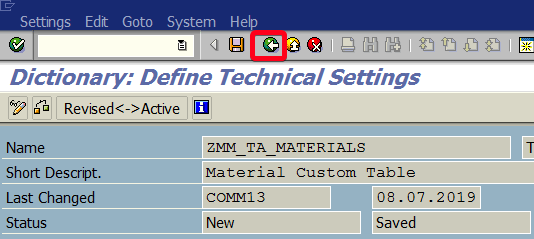
Step 19. Click on Back button:
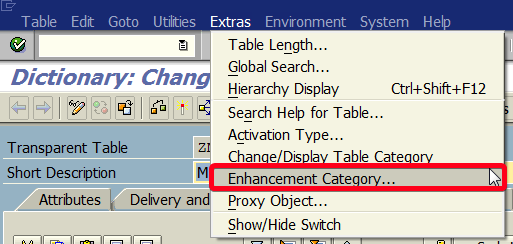
Step 20. Choose Extras | Enhancement Category… from top menu:
Step 21. In the popup window click on Continue button:

Step 22. In Maintenance Enhancement Category popup choose “Cannot Be Enhanced” or one of other Enhancement Category:

Step 23. Click on Copy button:

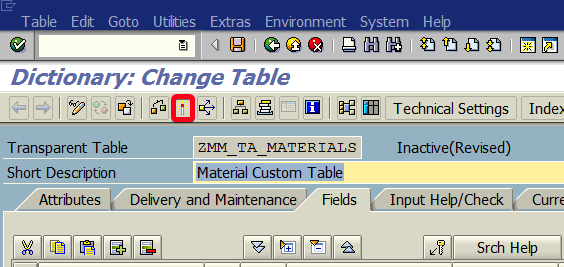
Step 24. Active object by clicking on the Activate button:
Now you can use your new table in your reports.

