![](https://sapported.com/wp-content/uploads/2019/09/how-to-add-entries-in-ztable-step04.png)
In this step by step SAP tutorial, you will learn how to add entries in ztable. If you don’t know exactly what ztable is I recommend reading the following tutorial How to create a transparent table?
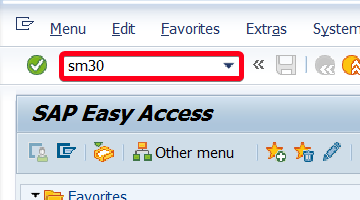
Step 1. Go to transaction SM30 (Call View Maintenance). Put “sm30” in the command field and hit Enter:
![](https://sapported.com/wp-content/uploads/2019/09/how-to-add-entries-in-ztable-step01.png)
Step 2. In Table/View field put table name i.e. “ZSAP_EXAMPLE_TAB“:
![](https://sapported.com/wp-content/uploads/2019/09/how-to-add-entries-in-ztable-step02.png)
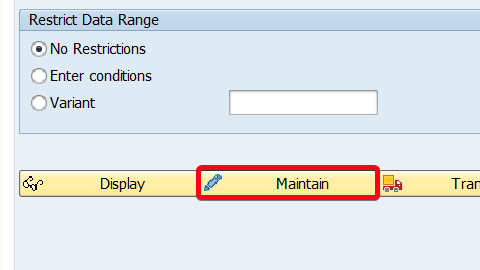
Step 3. Click on Maintain button:
![](https://sapported.com/wp-content/uploads/2019/09/how-to-add-entries-in-ztable-step03.png)
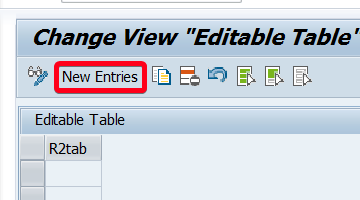
Step 4. Click on New Entries button:
![](https://sapported.com/wp-content/uploads/2019/09/how-to-add-entries-in-ztable-step04.png)
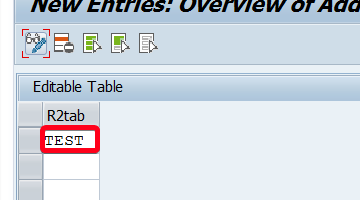
Step 5. You can add any value (or values) in the table section:
![](https://sapported.com/wp-content/uploads/2019/09/how-to-add-entries-in-ztable-step05.png)
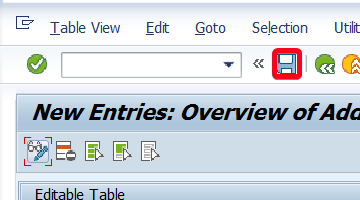
Step 6. Click on Save button to save your entries:
![](https://sapported.com/wp-content/uploads/2019/09/how-to-add-entries-in-ztable-step06.png)
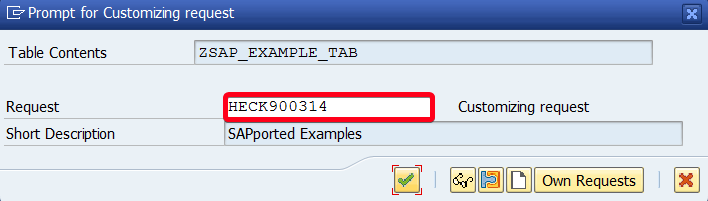
Step 7. In some case, the popup window will appear and you will be asked for a transport request. Choose one i.e. HECK900314:
![](https://sapported.com/wp-content/uploads/2019/09/how-to-add-entries-in-ztable-step07.png)
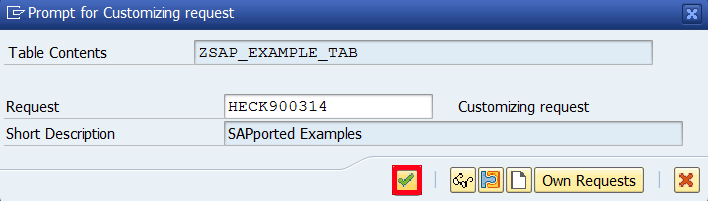
Step 8. Click on Continue button:
![](https://sapported.com/wp-content/uploads/2019/09/how-to-add-entries-in-ztable-step08.png)
You should see the following message on the bottom of the SAP GUI window:
![](https://sapported.com/wp-content/uploads/2019/09/how-to-add-entries-in-ztable-step09.png)